We will start with something so seemingly simple, but actually really difficult to complete in a decent fashion: Ripping Textblocks.
When Dan Essig first taught me to do this, the least I can say is that I was incredibly terrified that I would mess it up. Mostly because he described every little thing that could wrong as, and I quote, “TERRIBLE!” But it isn’t..and although you might rip the wrong way, or measure wrong, there is always a way you can use that paper. So don’t worry. But, that being said, measure THREE times before ripping…or else you will pay for it. hehe.

First, you need a ruler you like to measure with, a metal ruler to rip with, a pencil with a great eraser, and a bone folder. I usually start ripping 4 sheets at a time. Usually, a signature has 4 sheets in it, that create 8 pages when folded.
Then, you are going to check the paper to see which way the grain is going. You want to make sure you are going to eventually fold the paper WITH the grain. The way you can check is by folding the paper lightly one way, and then the other way. Whichever way feels easier is the way the grain is going.
With that information, you are ready to start measuring. You want to measure the textblocks as 1/8 inch LESS the height of the book, and double the width of the book LESS 1/4 of an inch. This means that if you want your book to be 4 inches high and 3 inches wide, you want to measure the height as 3 & 7/8ths (4 less 1/8). Then, you want to measure the width as 5 & 3/4ths (3 x 2= 6, less 1/4th).

You want to measure the width of the book with the grain of the paper. (5 & 3/4ths)
After you measure both the top and bottom of the paper, you can rip the paper using your metal ruler, cork side up.

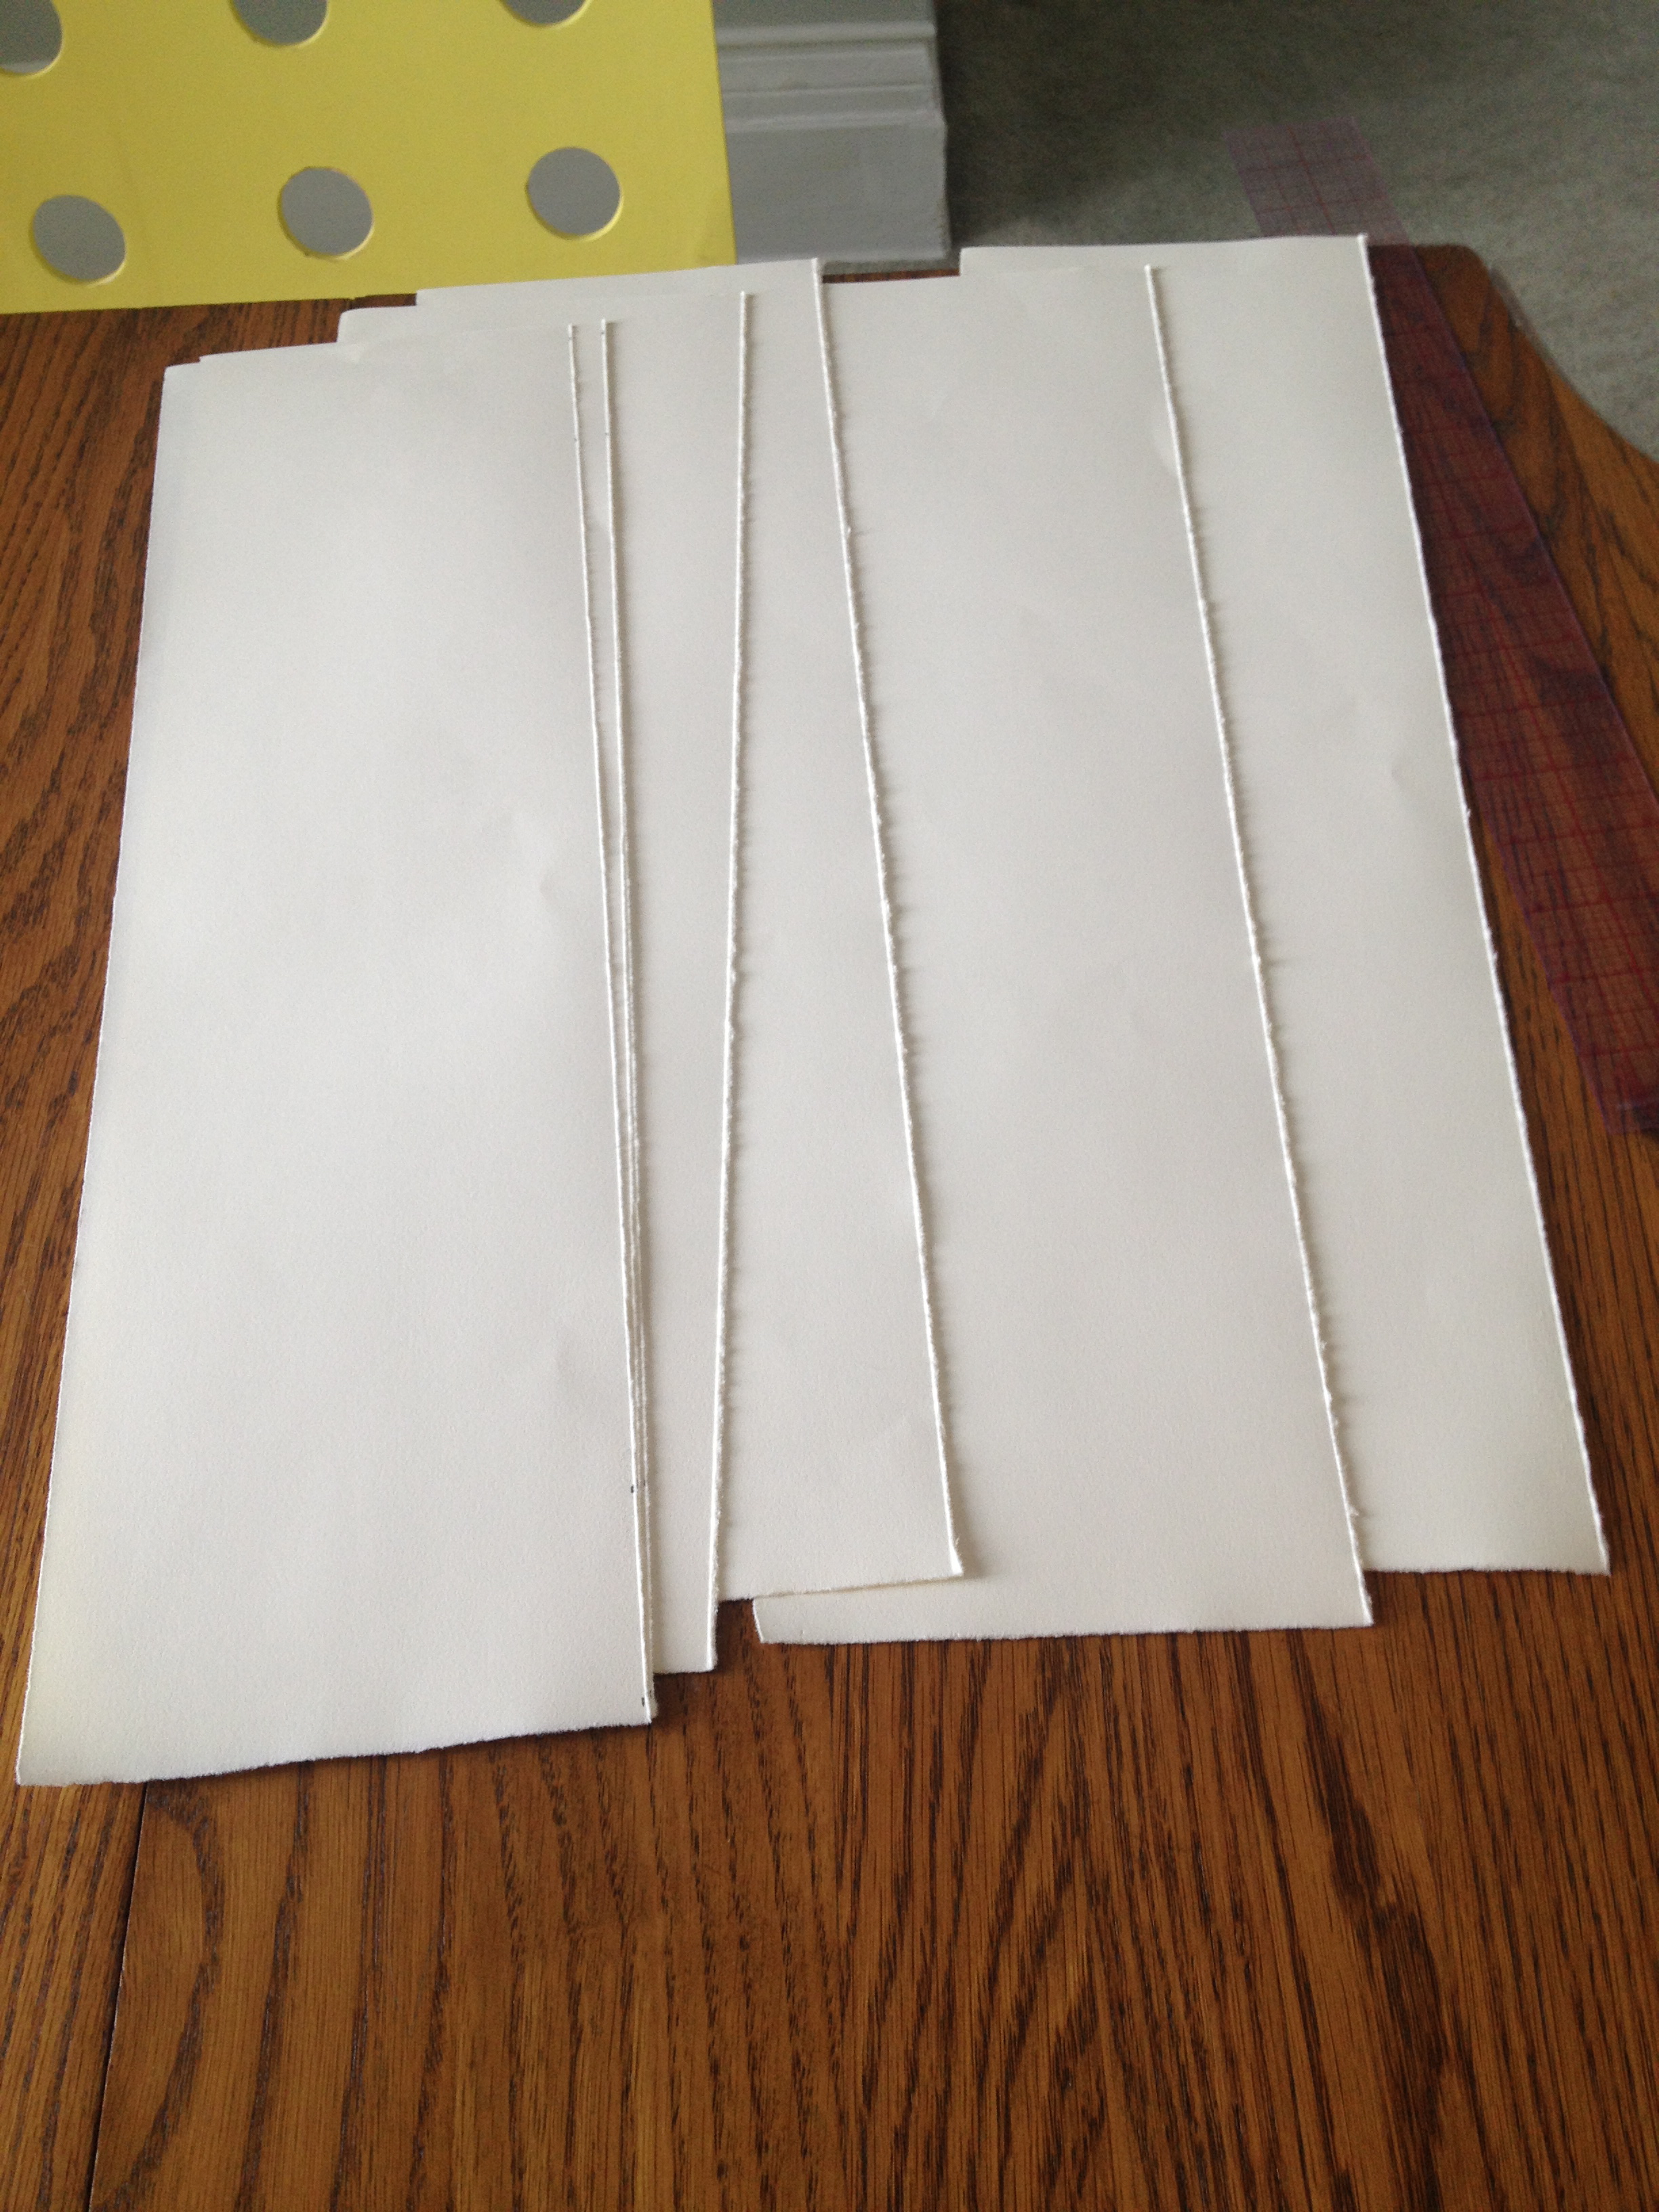

Now, you can measure the height of your paper (3 & 7/8ths) on both the top and the bottom of the strips of paper. Measuring both the top and the bottom ensures that you will rip the paper square.

Now, you have paper the size of your signature before it is folded.
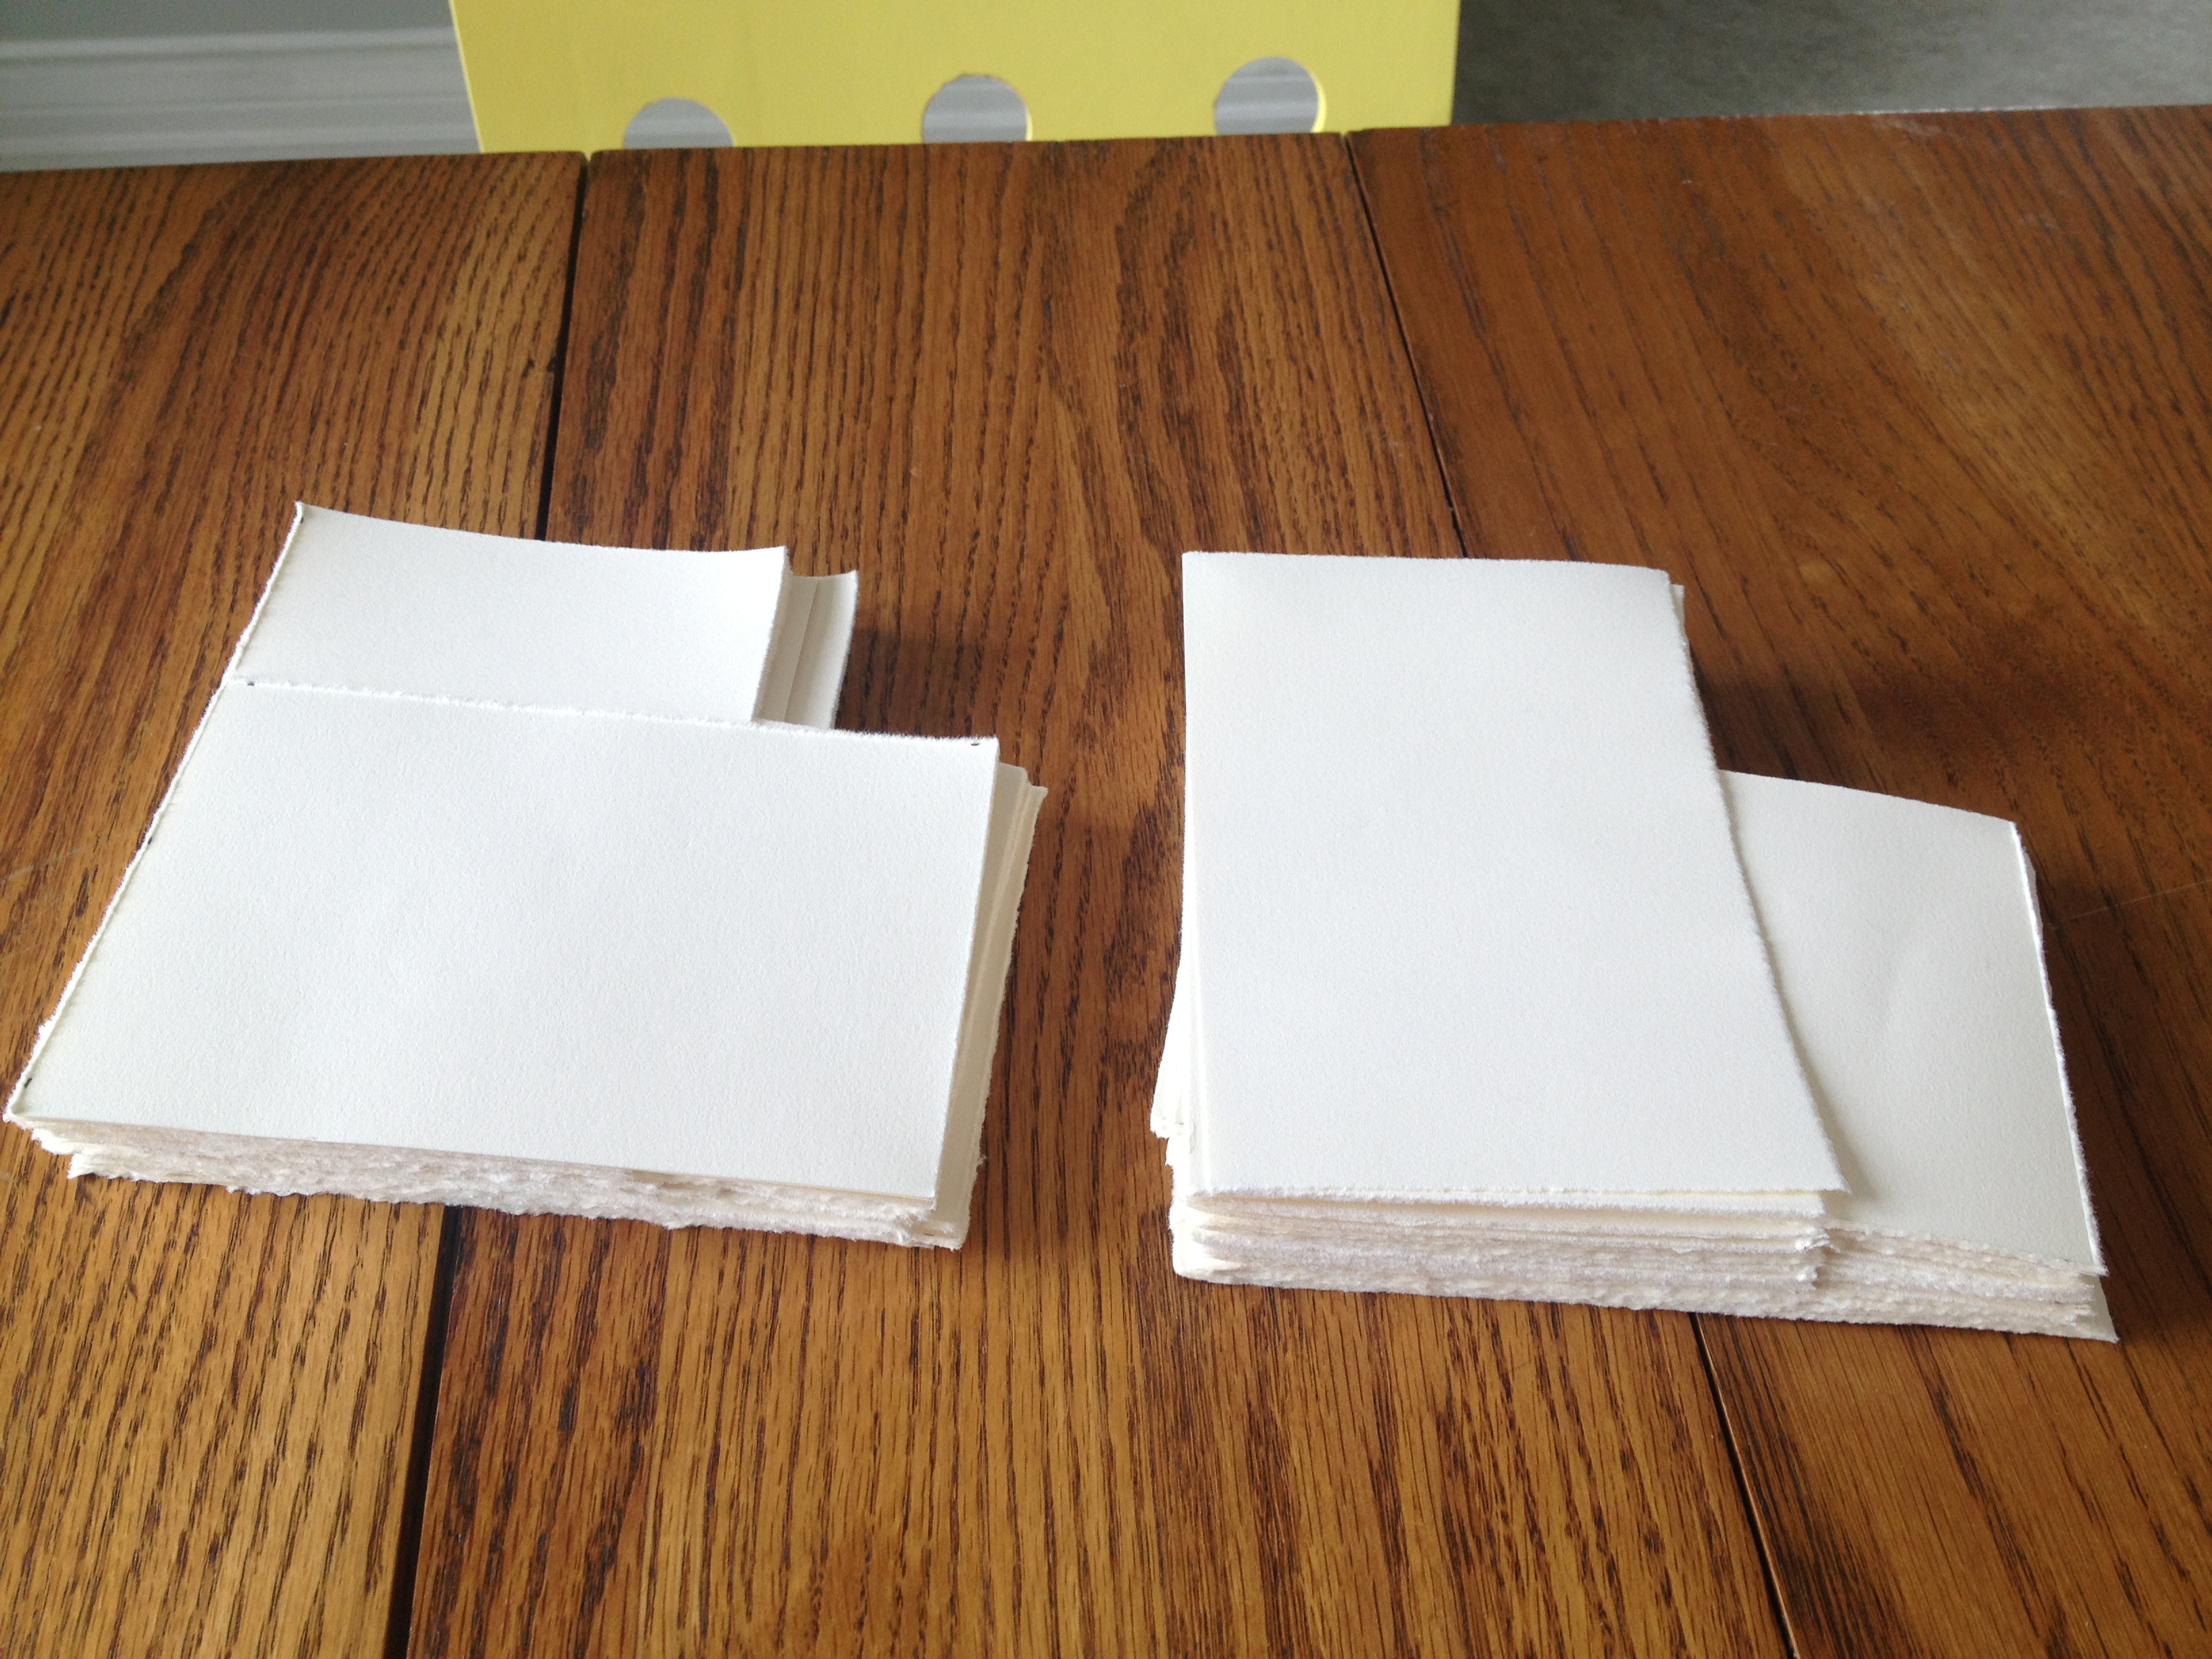
Before you fold each signature, you must flip the 1st and 3rd sheet of paper in every signature of 4. This will ensure that the paper will not stick together in the book.

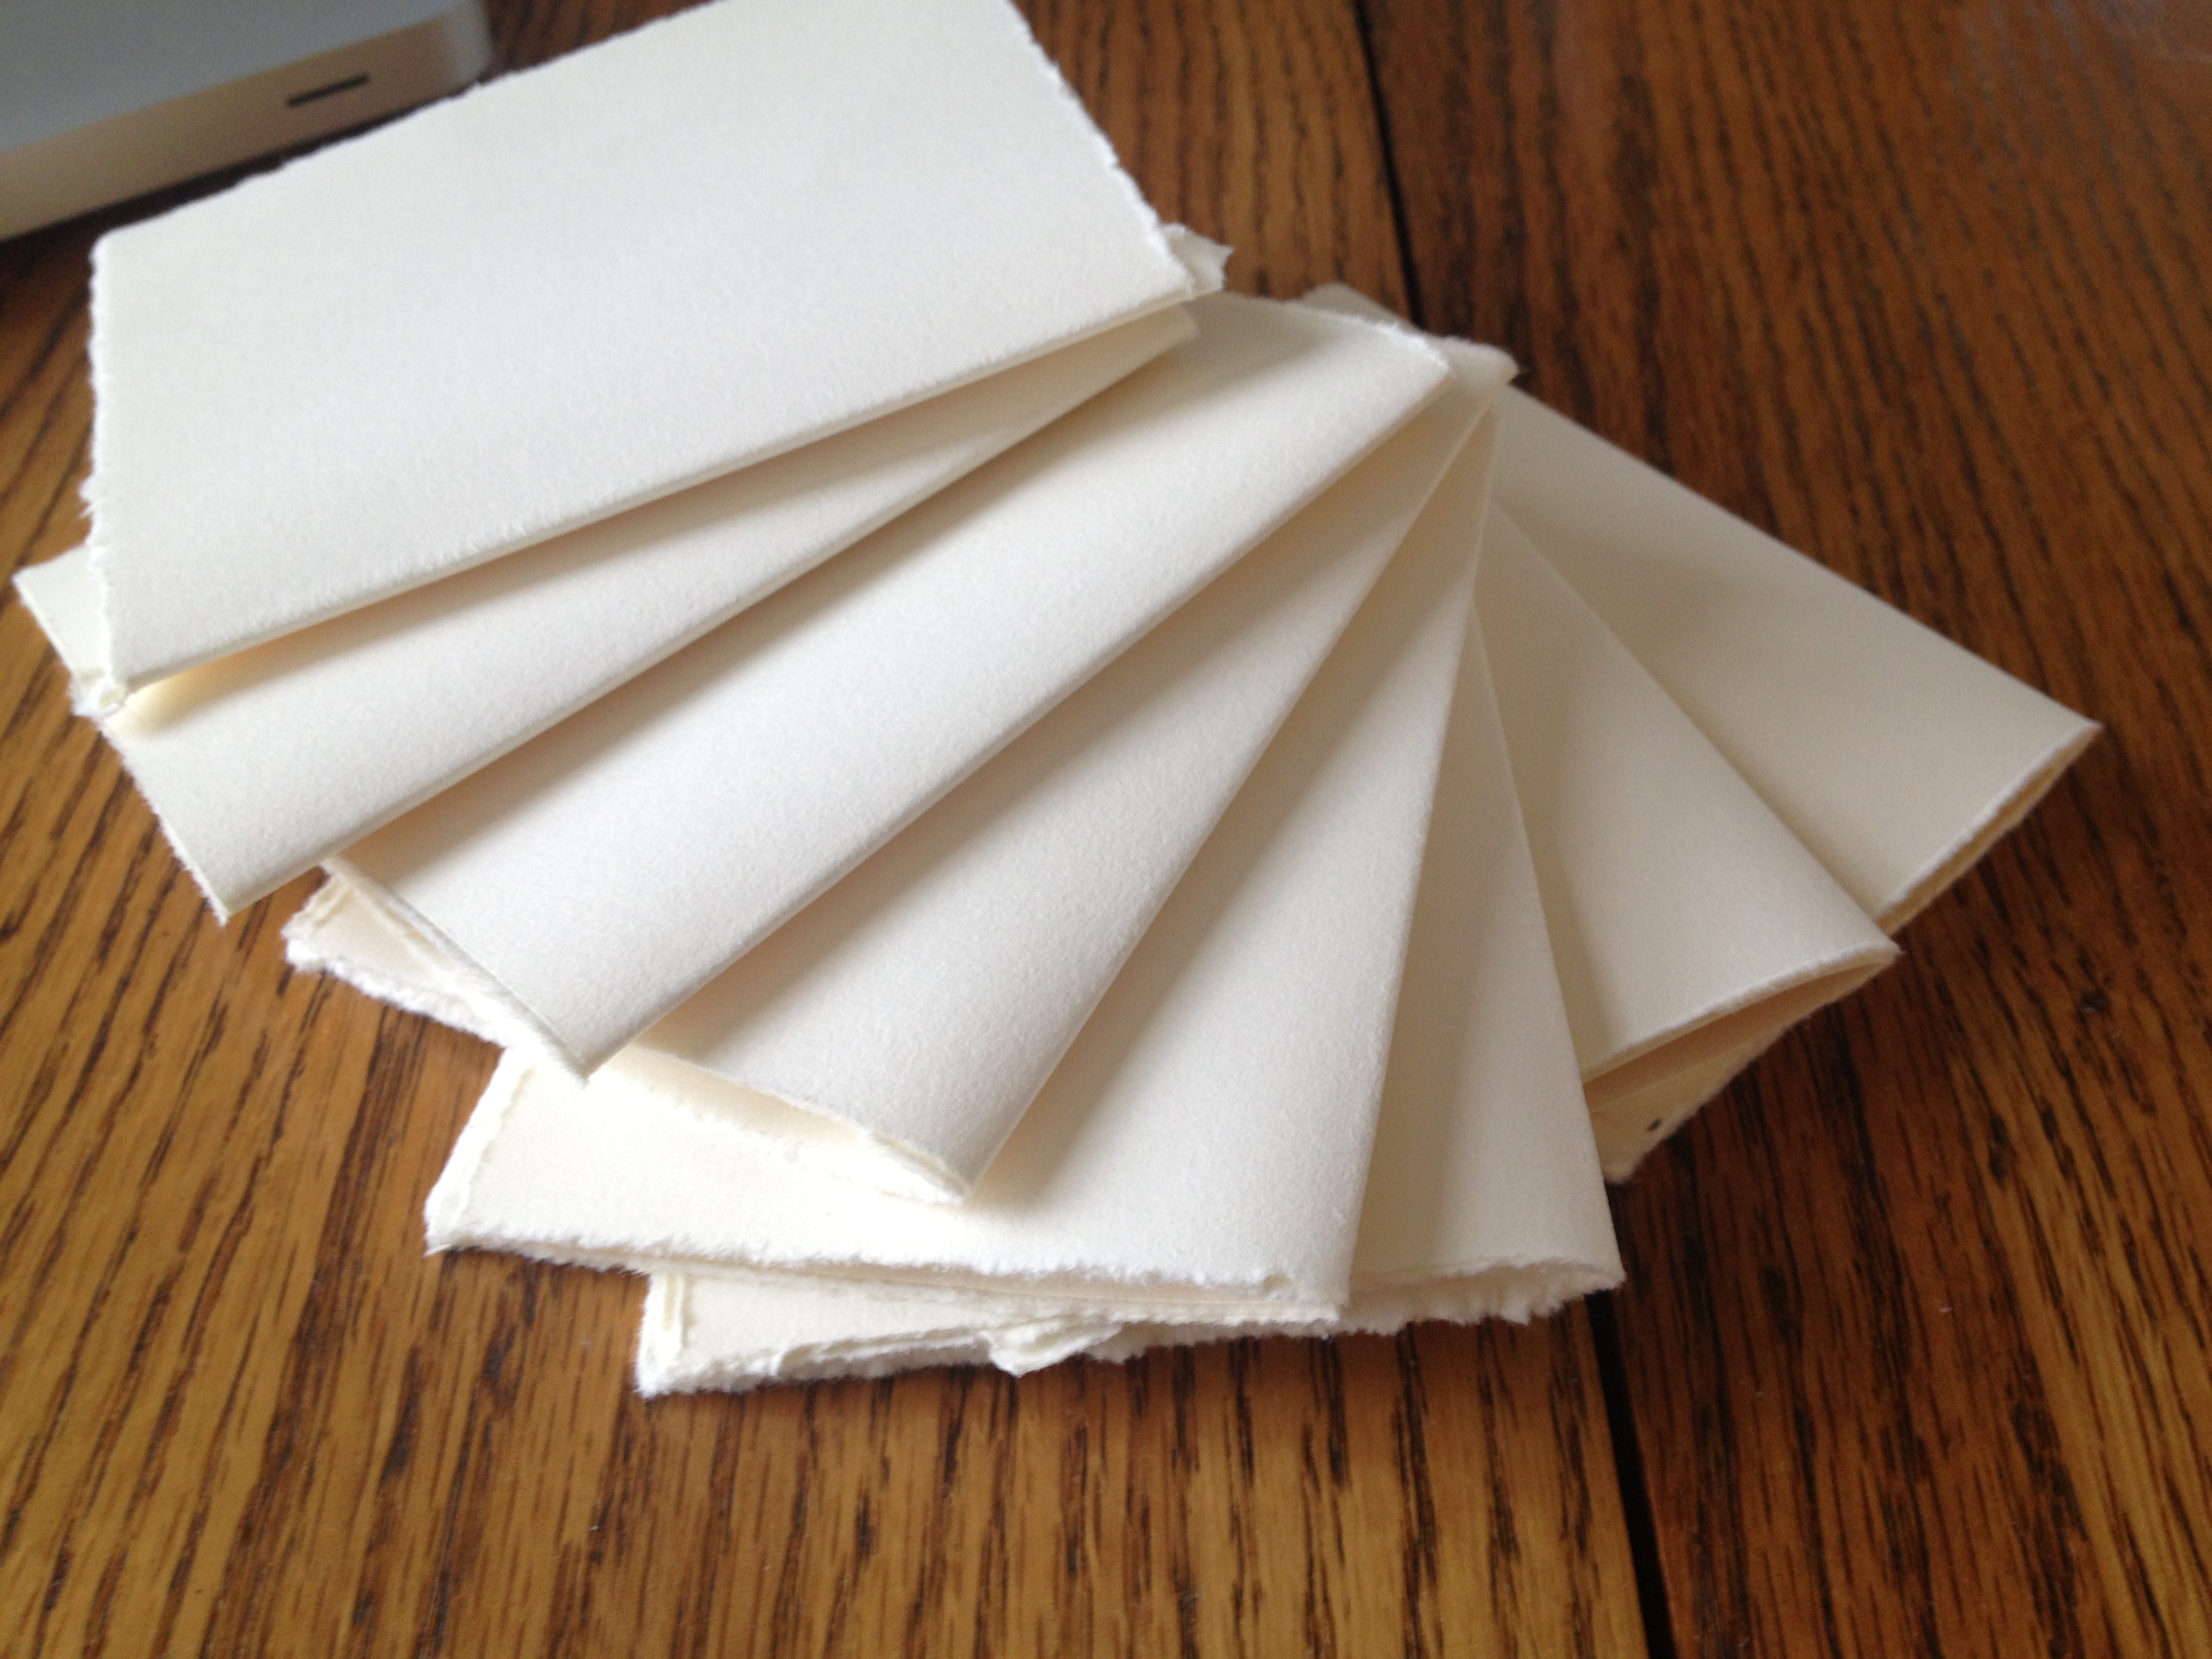
Now, the signatures are ready to be folded. Carefully, line up all three edges of the paper.


Without holding down the side of the signature where the edges meet, fold down the paper lightly with your fingers.
 To complete the fold, use a bone folder. The bone folder helps create a nice, crisp fold without getting the oil from your fingers on the paper.
 Now you have signatures! You can separate the signatures into piles to be pressed overnight before binding.

You can use another from a heavy rock to a typewriter to a lot of heavy books, but make sure whatever you are using to press your signatures is clean so your paper will not get dirty.
Now, you have plenty of signatures, with 8 pages each, to bind a book!
For more bookbinding tutorials or ideas, I like to look at Moon and Hare, a cool blog with lots of ideas!

I’m a relatively new book artist, and was trolling my reader looking at the tag for “book arts” when I came across this post. It looked interesting so I thought to myself, “Self, you should go check out that blog.” And I did. Boy am I glad. Folding paper for signatures, cutting paper for signatures, tearing paper for signature, and basically ANYTHING to do with altering the sometimes quite expensive papers used in the signatures of Artists’ Books is really scary to me. Though I’ve had the instruction before, my experience was similar to yours with every mistake being described as “terrible.” Thank you for this straightforward post, and the disclaimer of “it’s not terrible.” I know, I realized early on that I could typically find a use for the paper, but your comment make me feel like so much less of a slacker for that! I also really appreciated your tip about flipping the papers within the signatures. That was something that I’d not heard before, and I intend to do that on the next blank journal that I put together! Thank you again for the straightforward, and no-nonsense instruction, but most of all, thank you for that one comment that’s helped me feel much better about any mistakes that I may make in this very precise art.
Thank you so much for your comment. I’m just starting out with this blog thing and you have given me the needed reassurance that someone out there is really reading! I’m glad I could help and I plan to include tutorials as I continue with my work. And don’t worry, I am just starting out, too! I think we can learn from each other. Thank you again for following and for the comment!